Here is part two of my gardening guide! Please see last week’s edition part one:
Planning
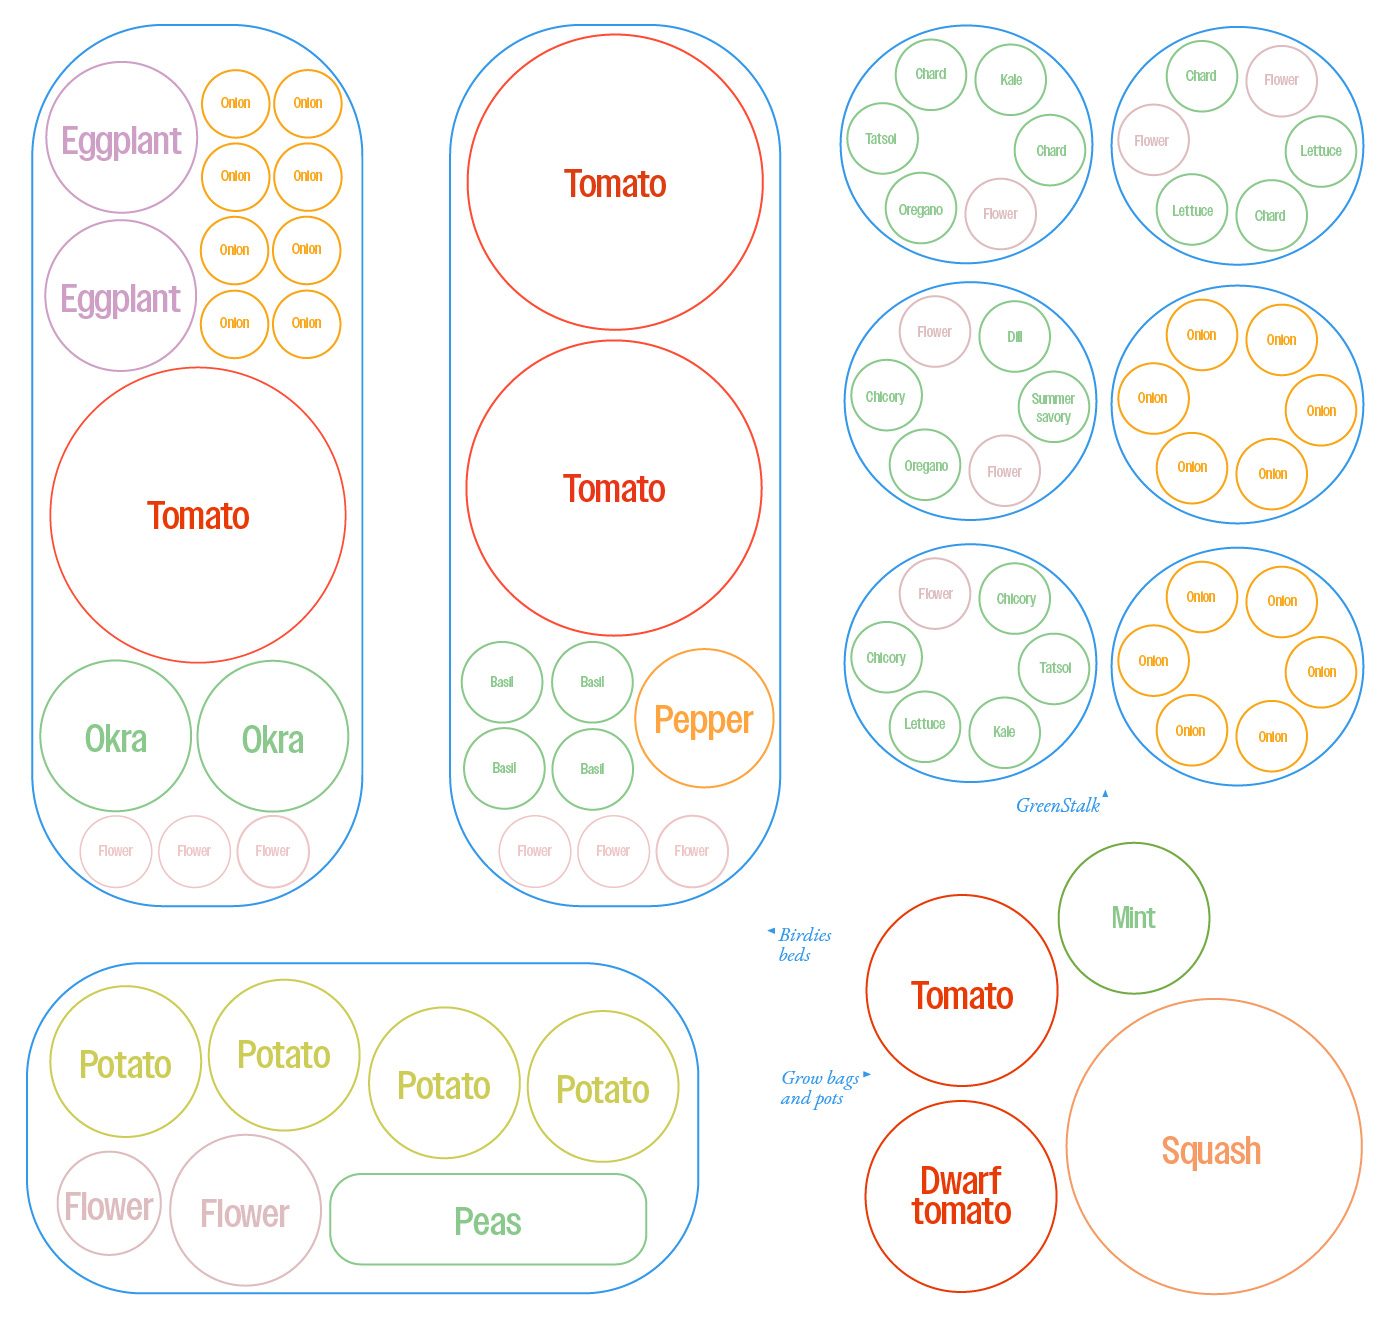
With my crop list and a companion plant chart in hand, I made a schematic using Adobe Illustrator. I’ve seen people use Google Slides, too. Lots of important information about each plant can be found on the seed packets, including their spacing requirements. I created a huge Illustrator canvas and made circles for each plant based on the dimensions listed and then moved the shapes around until I found a layout that fit everything.
When planting day arrives, I don’t follow the schematic perfectly. I’ll realize I actually want a pepper plant here and a kale plant there, or I’ll get greedy and try to squeeze in more than should, technically, fit. It will all work out. You will make mistakes and you will learn from them!
Buying seed
First of all, it is not necessary to grow your entire garden from seed. You can find a nice selection of starter plants at local nurseries and farmers’ markets,which can be a good place to start for a total beginner. (If you’re inspired reading this now in mid-May, the primary way you’d be able to have a garden by summer is to buy starter plants.) That said, growing from seed is more economical, creates less waste, and offers access to a much wider variety of cultivars than what would otherwise be available.
I still buy and plant starter plants sometimes when my seedlings fail or a moment of inspiration strikes at the nursery. I’ve had a tough time growing peppers from seed, for instance, but have had some success with more mature pepper starter plants.
Where I have purchased seed:
Hudson Valley Seeds (my favorite)
Seed Savers Exchange
Row 7
Johnny’s Seeds
Growing from seed
To maximize your growing season and achieve reliable germination, most seeds will need to be started indoors many weeks (or months) before your last frost date—google to find out when this is.
To start indoors, you will need LED grow lights as late-winter window light will not suffice. I had the good fortune that one of Skylar’s pandemic projects was to create an IKEA-hacked cabinet greenhouse in our living room, but a simple DIY shelf will also do.
I group all my seeds by their recommended start date, as specified on the seed packets, label each of them with a date, and enter them into my digital calendar. I did about three waves of seed starting this year and I think I timed everything about right.
(One note on last frost dates: I like to grow tomatoes and peppers, both of which don’t like to be exposed to sub-50°F temperatures. This means that I usually transplant them many weeks after my average last frost date. This year I started the seeds 4 to 6 weeks before my guess of May 15 and was right on time. Again, ideal sowing times will depend on your growing zone and nighttime temperatures.)
When planting, again, read the seed packet—some seeds need darkness to germinate, some need warmth.
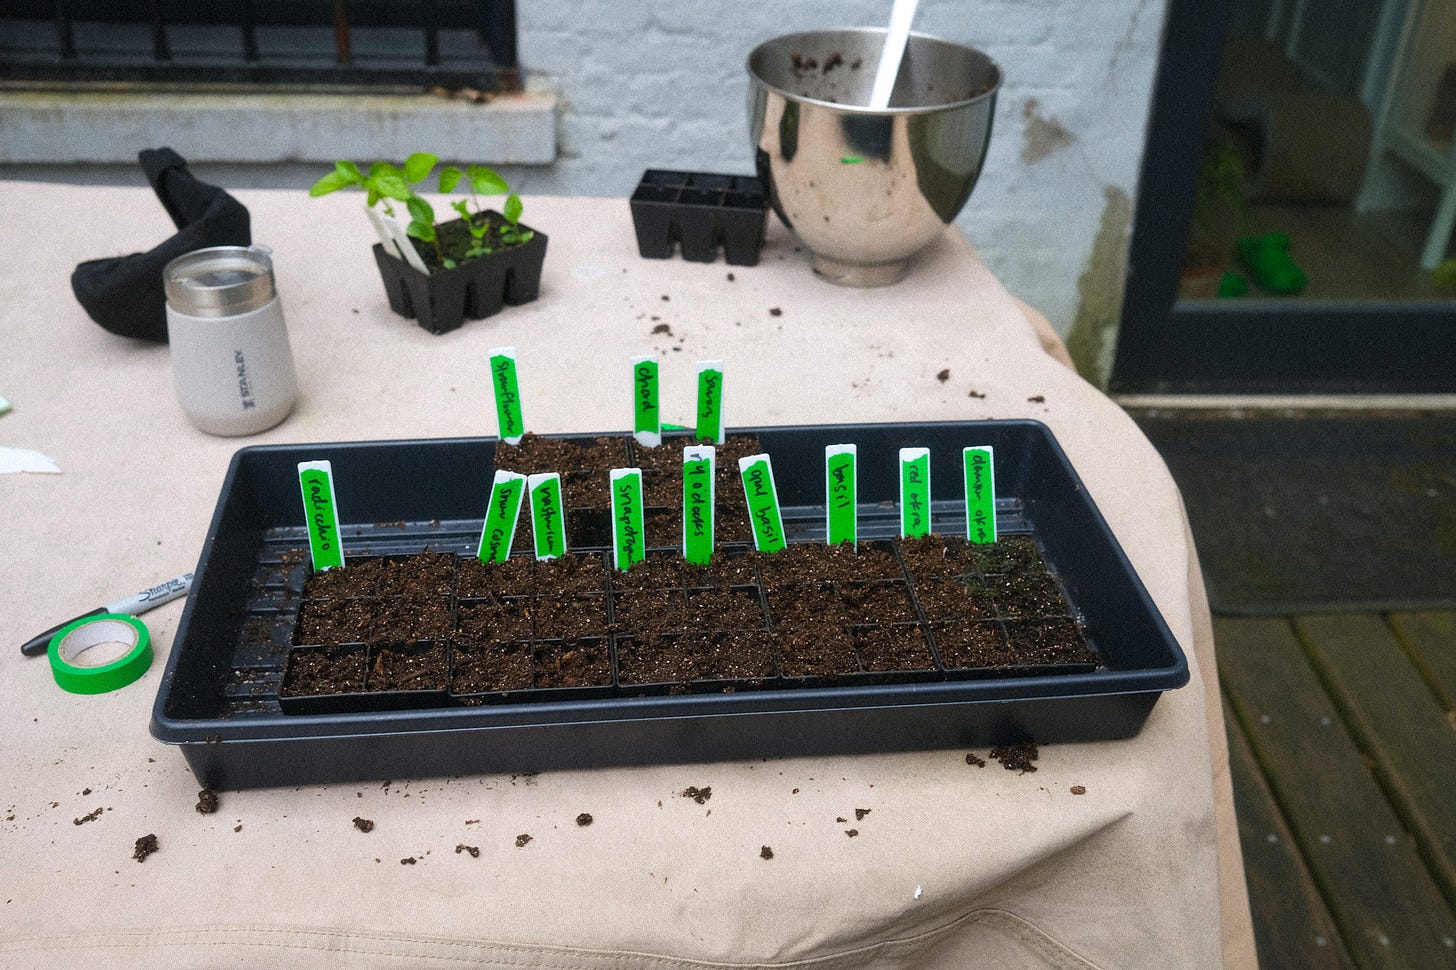
Place the grow light 2 to 3 inches from the seedlings. Most will benefit from a heat mat and a humidity dome (you can buy the domes with the 1020 trays). Don’t forget to label what’s planted where.
I like to “bottom water” the seedlings by pouring water into the base of the 1020 tray. The water will wick up from below and water the plants.
With seedlings, keep an eye on them as they can grow fast. Depending on how close or far away they are from the light and how much humidity there is, they can get leggy and floppy, which will lead to weaker plants later on, so you may need to move them further away from the light as the legginess is caused by them trying to reach for the light. (This is where having two lights and two shelves will help.)
One thing that wasn’t obvious to me initially is that you will need to “pot up” up your seedlings into larger containers after a few weeks and before they are ready to be transplanted. This is because seed starting soil has limited nutrients, and the seedlings will also begin to outgrow the pods. This is my first year using the the Epic Gardening 4-cell trays, and in the past I’ve used tiny grow bags or leftover plastic pots from nursery seedings. As long as there are drainage holes, you can pot up into anything. (I don’t love the tiny grow bags, however—it’s easier to pull out the plant from a plastic container.)
You may want to fertilize your seedlings after a few weeks with a liquid fertilizer, but be sure to dilute it much more heavily than the container says so as to not burn your seedlings’ fragile roots.
Not all seed needs to be sown indoors. Many plants can be sown directly outside, usually after your last frost date. In fact, there are some that prefer to be sown directly. This should all be on the seed packet.
Beds and pots
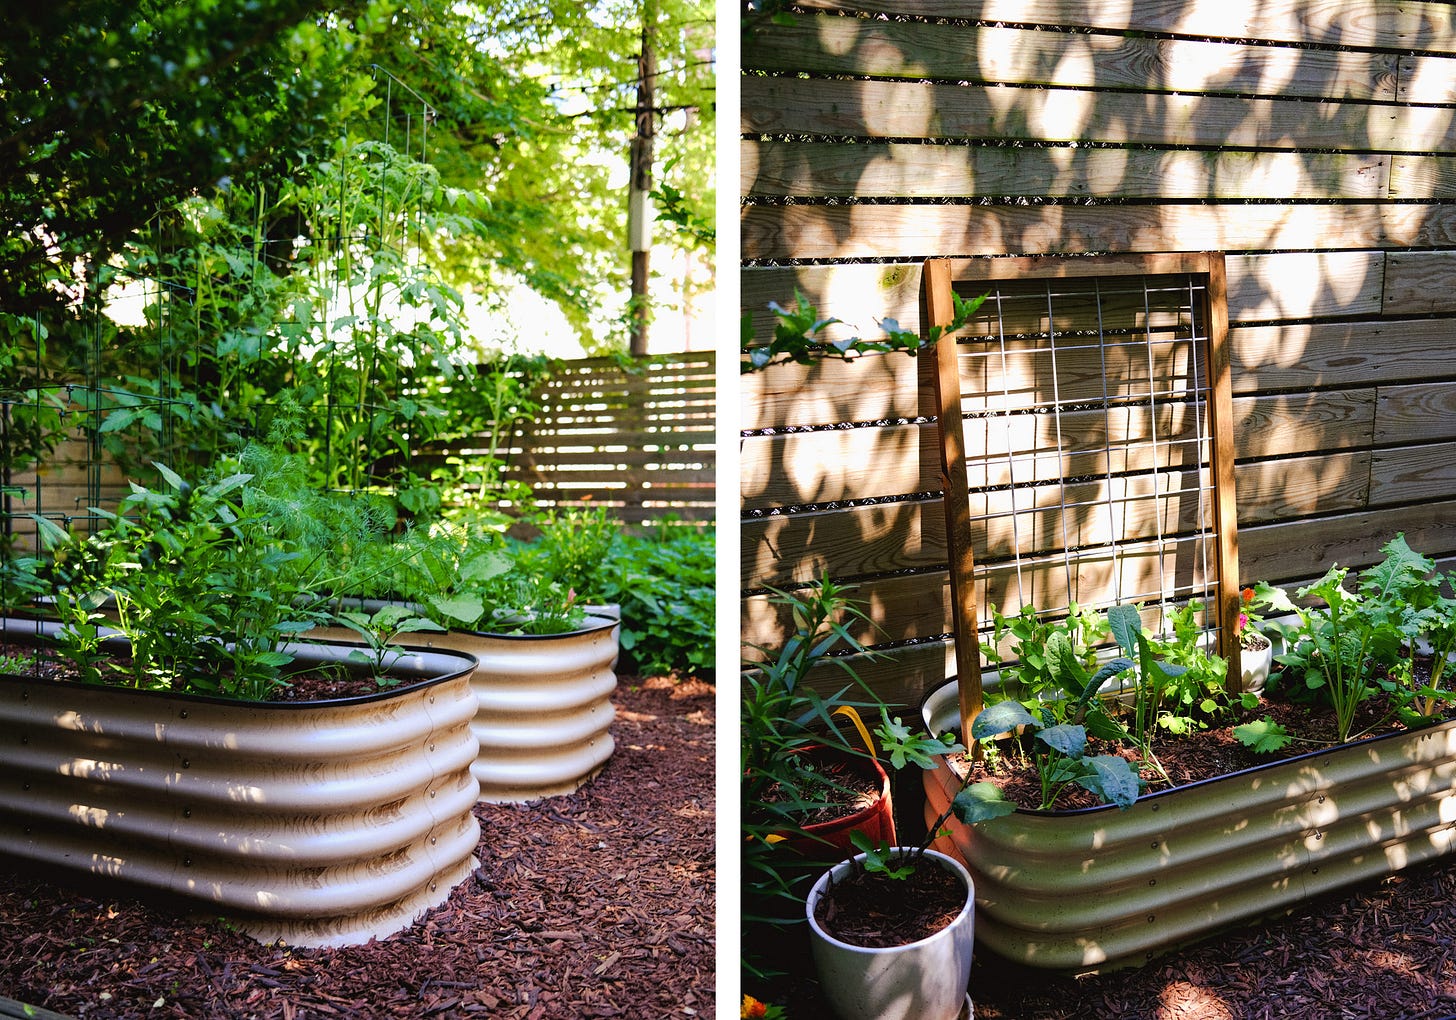
I planted my entire garden in raised beds as we rent our apartment and share our backyard, and because the ground likely has a century’s worth of lead in it. I started with two Birdies metal beds from Epic Gardening and couldn’t be more happy with them. When we eventually move I will disassemble the beds and bring them with me.
Another option to consider for city gardening is a vertical planter. This is my first year using a GreenStalk, in which I planted onions, lettuces (tatsoi, wild arugula, brushed oak), and flowers (cosmos, nasturtiums, et cetera). The YouTubers love these. I will report back, but so far I am, too.
Soil
I ordered bagged organic soil from a local nursery and had it delivered. If you have a driveway and lots of beds, getting a load of loose soil dumped somewhere on your property would likely be more cost effective.
If you’re using raised beds, look for a raised bed mix or other high-quality potting mix.
Mulch
After planting your beds, you will want to cover them with something to help suppress weeds and retain soil moisture. I’ve always used a cedar mulch from the nursery, though I know the Epic Gardening guys like straw.
Amending soil
I’m a little embarrassed to admit this is my first year amending soil with additional compounds and nutrients, other than planting cover crops after the summer season. This year I used a mixture of Azomite, worm castings, and compost to amend my Birdies bed soil. At the end of this season I plan to order a soil test to see what it needs going forward.
Fertilizing
I use the dry Espoma Garden-tone and Tomato-tone when I transplant and every few weeks during the summer. I will admit that the dry fertilizer is a pain and I tend to put off applying it, so this year I am going to use a liquid fertilizer so that I do it more consistently.
Pests and disease
My primary pests are slugs, aphids, and squash borers, but I’ve also dealt with some tomato blight. Nothing has yet really harmed my plants, but with any kind of infestation you’ll want to quickly identify what you have going on and take whatever (organic) measures you can to abate them.
Sluggo has been pretty effective for the slugs. Neem oil spray and insecticidal soap are also organic and effective against many diseases and pests.
Watering
My garden is quite small and I love hand watering with the nozzled hose, so I don’t have any type of irrigation set up. Watering is a bit intuitive—I just keep an eye every day on how the soil looks and how the plants seem to be responding.
Pruning
Trimming certain plants can help with disease prevention and yield—tomatoes, basil, and squash in particular. I find it helpful to look at a video or diagram to know where to make cuts.
Other helpful accessories
For climbing plants you will need some type of trellis. Depending on the type of plant, you’ll either want a leaning trellis or a cage one. I love these tall cages from Gardener’s for tomatoes; I ordered the short ones that first year and quickly realized they were not tall enough for the indeterminate tomatoes I planted.
This Garden Weasel tool isn’t necessary for raised beds (though it made amending my soil this year quite easy), but I used it around my beds to pull up an invasive rhizome weed and it saved my back in the process. It’s also very fun to use.
A shovel and rake are both handy. You will definitely want gardening gloves, sheers, and a pair of slip-on clogs.
Enjoying your garden
The very best part. I love to visit the garden, check on how things are going, and, of course, eat and cook with my beautiful crops.
If you don’t already, please subscribe for garden updates, seasonal recipes, and more:
I’ll be back on June 12, in the meantime it would mean so much if you were to share Home Food with a friend.


This is fantastic information. Thank you.
I’m in my “starter seed” phase and I definitely need to get a heat light ASAP