How to bake bread, and the one fussy tool that changed it all for me
Too many words on bread!
This is part two of my series on baking bread; read last month’s letter here.
It’s a weird time for bread on the internet. Sourdough, in particular, has taken on a politicized mysticism—co-opted by influencer tradwives in peculiar Instagram Reels that associate sourdough baking with miscellaneous dog whistles. What the primary way to leaven bread for thousands of years has to do with “submitting to your husband,” I don’t know.
The other lane is how I first heard about at-home sourdough—the trope of the Type-A boyfriend obsessed with baking the perfect sourdough loaf. As much as I love bread, the focus on exact measurements, water filters, and lava rocks never appealed to me. I like cooking most when I can riff—I want to add things here and there and depart from a written recipe when my experience, taste, and intuition can take over.
Baking, famously, doesn’t allow for this. Or at least that’s what people say. There are scientific considerations that can make or break a loaf, it’s true, but bread is more intuitive and creative than the bread influencers give it credit.
I follow a recipe from Farmhouse on Boone for my weekly bread (just don’t judge the bad recipe photos). I like it for a few reasons: no fussy temperatures (god bless all who calculate DDT), pared-down steps, and little nighttime work. I don’t want to mix a loaf up at 9 pm!
On Farmhouse on Boone’s YouTube channel, she has shared more about her sourdough approach—she teaches that it’s okay to leave the shaped dough in the banneton in the fridge for days, if you need to, and to not panic about the timing of stretching and folding. I remember making focaccia dough the first time and timing my stretches and folds down to the second. You don’t need to do all that.
Baking bread can be flexible! Also, following a working mother’s recipe will produce less irritating results, IMO, the same reason restaurant cookbooks are annoying. Home cooks do not cook like restaurant cooks; the same goes for bread and bakers.
My husband isn’t much of a bread eater, so I typically half the Farmhouse on Boone recipe, though bread dough maintains its temperature better in larger quantities. I also use store-bought whole wheat flour as I don’t have a flour mill.
What I’ve learned as a bread newbie is that the most crucial thing is the rise. The most consistent results I’ve achieved with proofing/rising are from maintaining dough temperature, which I achieved with a collapsible bread proofer, but more on that later.
Sourdough
Knowing how to bake without granulated commercial yeast is a good skill. There is something satisfyingly ancient about producing such a wonder with only four ingredients.
Nutritionally, too, sourdough is a superior way to eat bread. The naturally occurring wild yeast in sourdough starter leavens the dough but also ferments the rest of the grain. As with most fermentation, this process makes wheat more digestible and more nutritionally available. (This means people with non-Celiac gluten intolerance can sometimes consume long-fermented sourdough, but discuss it with your doctor or nutritionist.)
Sourdough has a slight sourness that I enjoy. But you can achieve less sour-tasting bread with shorter fermentations.
BTW, I keep granulated instant yeast on hand and use it without guilt when I haven’t planned, but sourdough isn’t such a crazy learning curve if you haven’t baked at all before. Granulated yeast is more convenient because you can use it instantly without waiting four or so hours for a starter to wake up.
A short history of white flour
Wheat and gluten get a bad nutritional rap, not because of some inherent flaw of wheat, but because of white flour. White flour is technically an ultra-processed food. The flour we buy at the supermarket has had its bran and germ removed and its endosperm treated. This makes flour more shelf-stable and produces fluffier, lighter, and whiter products, but turns wheat—a highly nutritious food—into what could be considered a nutritionally dead product. White flour’s nutritional deficiencies aren’t new; it has been a public health nuisance since its widespread introduction.
So what should you do? You can purchase freshly ground flour from a mill, ideally from a local source, but it will go bad within six weeks or so. It will also behave differently than all-purpose flour. You can buy whole wheat berries and mill grain at home, but this requires a countertop stone mill appliance (a blender or food processor won’t work) that can cost anywhere from $250 to $750. One of my goals this year is to cook and bake with more freshly milled flour and whole grain, but I haven’t jumped in yet because of the home mill sticker shock. Most people can’t and won’t mill grain at home, but my compromise is baking with nonbleached, organic flour and ensuring I eat whole grain elsewhere (brown rice, farro, quinoa et cetera).
Glyphosate, the herbicide used on conventionally grown wheat in the United States, is nasty. Some surmise that people with gluten intolerance may be intolerant to the herbicides in conventionally grown wheat. Ecologically, too, modern wheat is grown in monoculture, and pesticides are awful for soil, water, and worker health.
I bake with King Arthur Organic flour and find it cheapest from Thrive Market. King Arthur makes a consistent product. It costs something like $1.99 worth of flour per loaf.
I keep three types of organic flour on hand: all-purpose, bread, and whole wheat. Bread flour is higher in protein and is usually necessary for bread loaves.
Gorgeous, gorgeous grams
One thing I hear from people who don’t bake is they don’t like how precise it is. I get it—I also don’t like cooking as if I’m conducting a science experiment. It may seem counterintuitive to say that an inexpensive kitchen scale makes baking less precise, but you can place a bowl on the scale, tare and pour stuff in, tare it again, and pour in more stuff. This process is as satisfying as throwing a bunch of ingredients into a soup pan—no scooping and dusting, no dirtied measuring cups, and exact, consistent outcomes. But be warned; you’ll begin to resent any recipe with volumetric measurements.
I live chaotically, so I pour the flour, water, and starter directly into the same bowl and scoop out what I can if I pour in too much. You can also use a smaller bowl or vessel to weigh individual ingredients as you go. I do weigh salt, since it’s so comparatively light, in the lid of my salt jar.
I have an inexpensive kitchen scale by Escali, though I wish I had gotten a larger one. I like to use my heavy stoneware mixing bowls and sometimes have to crouch to see the digital reader.
My starter does not have a name
I bought a starter from Cultures for Health (the “San Francisco style”) a few years ago, and it’s still going strong. You can create a starter from scratch with just flour and water, but getting an established starter may be less intimidating. You can find them online, from places like Cultures for Health or Etsy, but you can also ask a local bakery, a buy nothing Facebook group, or ask around in your friend group.
I bake a loaf of bread every ten days and keep my starter in the fridge between uses. I’ve read that keeping it at a warm room temperature and feeding it daily creates a healthier starter and more consistent bakes, but that doesn’t make sense for my lifestyle and how often I bake, and I still have perfectly lovely loaves.
I feed the starter twice before using it, following a 1:1:1 ratio—for example, 20 grams of starter, 20 grams of warm water, and 20 grams of flour. I typically use bread flour, but all-purpose works fine, too.
I take the starter out of the fridge the day before I bake and feed it once. Right when I wake up the following morning, I feed it again. I let it rise for four hours, and this is the starter I use to bake with.
Now… starter “discard.” You can bake sourdough without creating much, or any, excess discard. You’ll save only what you need for your recipe, plus a little bit extra. Following a 1:1:1 ratio, you can triple your starter with each feeding. For example, if you’re feeding it twice before baking and need 100 grams of starter, you’ll want to ensure you’re saving 20 grams of starter for your next loaf.
I keep my starter in a Weck 743 jar. I love these jars. We used them to replace the plastic deli containers in our kitchen.
I swap out the starter every few weeks into a clean jar when the sides become crusty. I do recommend using a glass jar with flat sides, as it’s easier to stir than in a canning jar with shoulders. Write down the weight of your starter jar, that way, you can keep using the same jar by subtracting the weight of the jar. The Weck 743 jar weighs 395 grams.
The one fussy tool that is sort of worth it
The one tool that transformed baking for me is a breadproofer. This $200 appliance from Brod & Taylor seems fussy but has a wonderful, collapsible design that easily stores on my short kitchen shelf. You can use it for yogurt or more ambitious fermented projects like tempeh, too.
Of all the factors with baking bread, maintaining a warm, consistent temperature for rise is the most important. We live in a ground-floor apartment that leans cold. My home will never achieve the 74F to 78F dough prefers. The breadproofer creates a consistent, warm environment for the dough to rise. I usually set mine to 75F and use the humidity tray to keep the dough moist, with no cover on the dough.
When I was at the mercy of my ever-changing kitchen temperature throughout the year, my dough wouldn’t be ready to shape and go into the fridge until 10 or 11 pm. With the breadproofer, I’m able to plan my baking schedule better. I do think this is an advanced tool and not completely necessary, but I’m happy I have it!
I look for two things when I’m determining adequate proofing. The poke test is the most reliable. Many times, the dough is too sticky for this trick to work, but just wet your finger with water before poking. I also look for a lot of small blisters on the surface of the dough.
Shaping
I don’t like to flour my surface before shaping and I have found that this recipe doesn’t need it.
Shaping is one of those skills that improves with practice, which is annoying because I only bake once a week. I spin and roll into a round, let it rest for 15 minutes, and then come back and shape it. I follow this technique for shaping:
Other tools
Sourdough stirrer
You don’t need one, but I love this sourdough stirrer from Andrew Janjigian from
. Its sturdy design works perfectly, and it cleans instantly.Mixing bowls
You don’t need a special mixing bowl. If you have a stand mixer, use that bowl.
I use these heavy stoneware bowls from the Ohio Stoneware outlet. I use the 10-inch for one loaf and the 12-inch for two. If you buy these bowls, be warned that they are heavy and impractical for other baking projects. You can’t one-hand it to pour out a batter, for instance. I love these bowls, though.
Some people like the square food prep containers because they are easy to determine doubling (if that’s what a recipe calls for), but I don’t like plastic, and some of those restaurant supply store containers come with California Prop 65 warnings. Yikes.
Salt
I use fine sea salt for baking. I love this Sicilian salt, which I pick up at Saraghina Bakery. Gustiamo also distributes it in the U.S.
Redmond Real Salt is another good brand.
Bannetons
I bought pressed wood pulp bannetons (by Bulka) for reasons I don’t remember, but the cloth-lined ones are probably fine. I have a circle and an oval. I prefer my round banneton to oval because I find it easier to score the loaf.
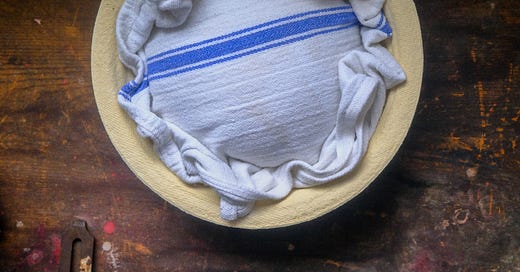
You’ll need two bannetons if you don’t have half the FOB recipe. If you’re not sure if bread baking is for you, you could always flour a tea towel and use it to line a small mixing bowl as a banneton!
A lame
You do need a lame. Even a very sharp knife won’t cut it (hehe). I like mine with a handle, but a box of straight razors and careful hands will work fine.
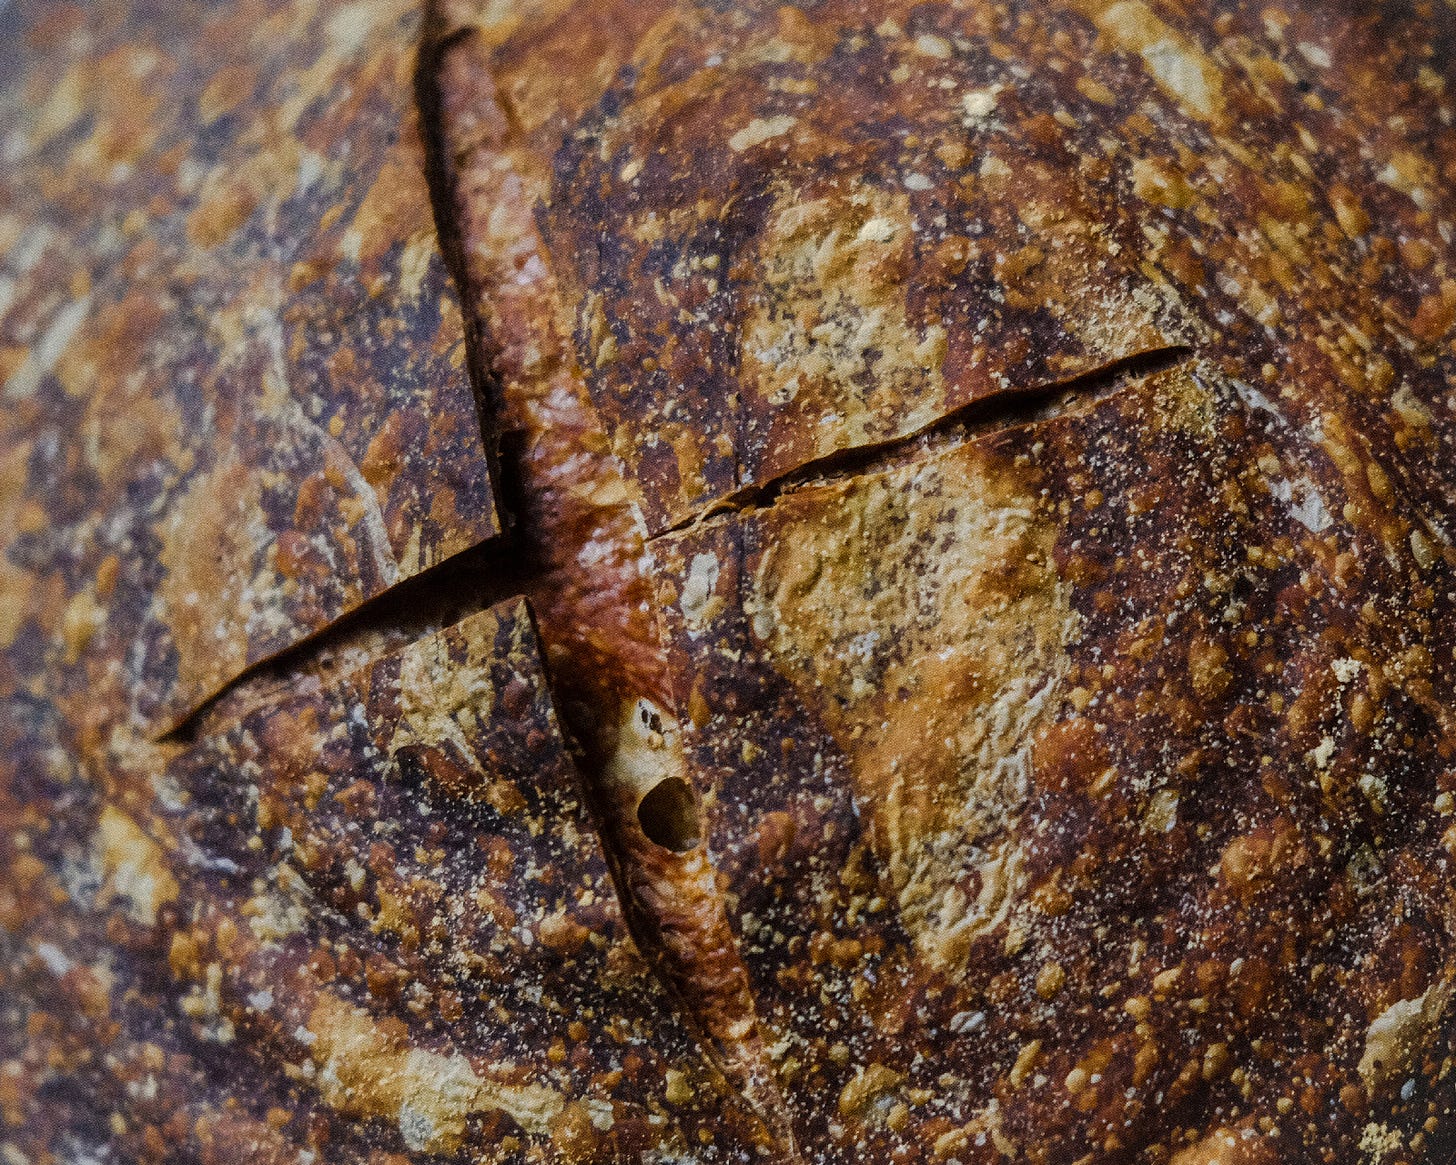
Despite being visual, bread scoring does not come naturally to me. I think my score pattern has a name, but I can’t find it. I essentially score a large square and then add a decorative X in the center. I don’t bother dusting with flour as I don’t like the look of a dusted loaf.
Dutch oven
When I started baking, I read a few things that insisted on using a combo cooker to bake in. I had a Dutch oven already and couldn’t see why a combo cooker would be any different (both are cast iron). I’m glad I didn’t buy one! I do line the Dutch oven with unbleached parchment paper.
How to make bread without plastic wrap
I use very little single-use plastic in our kitchen. Plastic wrap is my number one enemy. American kitchens have lost their minds with plastic wrap!!
If I am proofing dough at room temperature, I place a dinner plate on top of my mixing bowl to create a lid. If I am using the proofer, I use the humidity tray and keep the lid off. You could use a damp towel, as well.
For bulk fermentation in the fridge, I use a tea towel, folded over a few times and tucked into the cracks, to cover the dough. The airflow will create some skin on the dough, but it’s not a problem.
Miscellaneous thoughts
You can “autolyse” your flour for a long time. The FOB recipe says 30 minutes, but I’ve done an hour or longer. If you want to group your hands-on work, when you feed your starter in the morning, you can mix up the flour and water and let it autolyse while the starter rises.
I generally follow the recipe’s stretch and fold timing, but I’ve gotten sidetracked and stretched and folded at random times. It’s fine!
Out of the sourdough books I’ve tried or purchased, The Perfect Loaf by Maurizio Leo is the best. His approach is more scientific than my style, and I think baking with a levain is annoying, but it’s a great resource for all sorts of breads. I like his cinnamon rolls, dinner rolls, and maple spelt loaf recipes.
Kara hi!!